
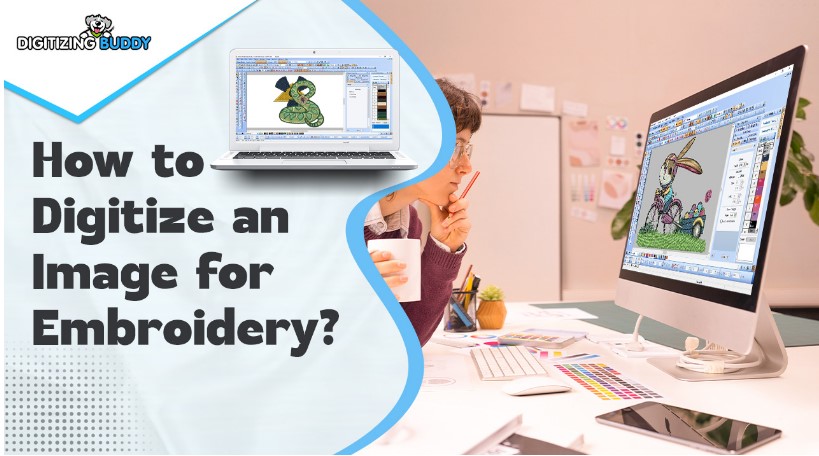
Embroidery has come a long way from hand-stitched initials and traditional monograms. In today’s world, machines do the stitching—but you still need a digital file to guide the needle. That’s where embroidery digitizing comes in.
If you’re a designer, crafter, or small business owner looking to level up your game, learning embroidery digitizing can open doors to custom apparel, accessories, and branding solutions.
In this guide, you’ll learn embroidery digitizing, how it works, the tools you’ll need, and how you can start creating custom designs like a pro—even if you’re a total beginner.
What is Embroidery Digitizing?
Embroidery digitizing is the process of converting artwork or images into a digital stitch file that an embroidery machine can read and execute.
Instead of printing ink onto paper, you’re telling a machine:
- Where to place stitches
- What type of stitches to use
- In what sequence to stitch them
For example, if you want to embroider your logo on hats, you’ll first need to convert it into a stitch-ready format like PES, DST, or EXP.
Why Learn Embroidery Digitizing?
Learning how to digitize your own embroidery designs puts the creative power in your hands. Here’s what you gain:
Full Creative Control
Design your stitches exactly how you envision them—placement, density, thread path, and style.
Save Money
Skip outsourcing and handle small batch or custom jobs in-house.
Offer Professional Services
Become a digitizing expert and offer services to crafters, Etsy sellers, or apparel companies.
Make Your Brand Stand Out
Easily add embroidered logos or icons to hats, shirts, jackets, bags—you name it.
Tools You Need to Get Started
To start digitizing embroidery designs, you’ll need just a few essentials:
1. Digitizing Software
Your most important tool. Popular choices include:
- Wilcom Hatch – beginner-friendly, great stitch control
- Embrilliance – Mac-compatible, scalable features
- Brother PE-Design – designed for Brother machines
- SewArt – affordable entry-level software
- Ink/Stitch – open-source and free
Each program allows you to import artwork, place stitches, and export to a file your machine can understand.
2. Embroidery Machine
Once your design is ready, you’ll need a compatible embroidery machine. Some popular options:
- Brother (uses PES files)
- Janome (uses JEF)
- Babylock (compatible with PHC, PEC, PES)
- Bernina (uses ART, EXP)
Important: Your digitized file must match the format required by your machine.
3. Vector or High-Quality Artwork
Start with clean designs for better results. Simple logos, initials, or line art convert more easily.
How to Digitize Embroidery Designs: Step-by-Step
Here’s a simplified walk-through of how to digitize your own custom embroidery design:
Step 1: Import Your Artwork
Open your digitizing software and load a clean image (JPG, PNG, or SVG).
Tip: Use high-resolution images with clear contrast for best results.
Step 2: Set Your Hoop Size
Before digitizing, define your embroidery hoop dimensions based on your machine’s limitations.
This ensures your design doesn’t get cut off or stitched too close to the hoop edges.
Step 3: Outline the Stitch Areas
Now, manually trace or auto-trace each part of the design. You’ll assign:
- Fill stitches for solid areas
- Satin stitches for borders or text
- Running stitches for outlines
This part is like “coloring” with stitches.
Step 4: Adjust Stitch Settings
Tweak these settings for professional results:
- Stitch density (tight for logos, loose for thin fabrics)
- Underlay stitches (a base layer that stabilizes fabric)
- Pull compensation (adjusts for fabric stretch)
- Direction and order (optimize pathing to avoid jumps)
Pro Tip: Most beginner mistakes come from skipping underlay and poor stitch density. Don’t ignore them!
Step 5: Preview and Simulate
Run a stitch simulation to preview how your design will look. This lets you fix alignment, overlaps, or missing stitches before exporting.
Step 6: Export to a Machine File
Save your design in the format your embroidery machine supports:
- PES – Brother & Babylock
- DST – Tajima (most commercial machines)
- JEF – Janome
- EXP – Bernina
Step 7: Test Stitch
Always run a test stitch on a scrap fabric. Check:
- Clean outlines?
- No thread breaks?
- Balanced stitch density?
Refine your file and stitch again if needed.
Common Mistakes Beginners Make (and How to Avoid Them)
Here’s what to watch out for as a new digitizer:
| Mistake | Why It Happens | Fix |
| Using low-res artwork | Blurry, unclear edges | Start with vector or 300dpi+ |
| Skipping underlay | Stitches shift or sink | Always apply base stitching |
| Wrong file format | Machine won’t read file | Export to correct extension (PES, DST, etc.) |
| No pull compensation | Gaps in stitching | Add extra width to counter fabric tension |
| Too many color changes | Slows down machine | Combine similar areas |
Want to Skip the Learning Curve?
If you need expert-level embroidery files quickly—or want a backup while you learn—consider using a professional digitizing service.
Digitizing Buddy is a trusted name for custom embroidery digitizing. They can:
- Convert any image to a ready-to-stitch file
- Deliver in all major file formats (PES, DST, JEF, etc.)
- Ensure the right underlay, pathing, and density settings
- Save you hours of trial and error
Perfect for businesses or creators who need fast, reliable results.
What Makes a Great Digitized Design?
If you want your work to look polished, keep these hallmarks of good digitizing in mind:
Minimal jumps and trims
Clean satin edges
No loose threads or bunching
Design aligns perfectly in hoop
Thread changes make sense
Remember: The embroidery machine only follows your instructions. The better you digitize, the better it stitches.
What Can You Create with Digitized Designs?
Once you’ve mastered the basics, here’s what you can do:
- Logo embroidery for brands
- Custom t-shirts, hoodies, and polos
- Monogrammed towels or robes
- Personalized baby clothes
- Patches and badges
- Home décor like pillows and wall hangings
The creative possibilities are endless once you understand how embroidery files are built.
Final Thoughts: Start Small, Learn Fast
Embroidery digitizing might seem intimidating at first, but like any creative skill—it becomes easier with practice. Start small. Experiment with simple logos or names. Watch tutorials. Analyze professional files.
And don’t forget, if you need help turning an idea into stitches, you can always count on Digitizing Buddy to deliver clean, ready-to-use digitized files.
Whether you’re creating for fun or for profit, embroidery digitizing is a skill that can help you turn art into real, wearable beauty.